E-Visa Vietnam on Your Smartphone: A Step-by-Step Mobile Guide
Gone are the days when visa applications meant queuing at embassies or wrestling with clunky desktop portals. Thanks to Vietnam’s E-Visa Vietnam program—updated under Decision 5568/QĐ-BCA 2023—you can now apply E-Visa Vietnam directly from your smartphone. Whether you’re a solo backpacker, a business traveler needing an urgent e-visa application Vietnam, or a corporate client seeking corporate business visa services Vietnam, this mobile-first tutorial will walk you through every screen tap, photo snap, and form field you need to complete your e-visa application Vietnam in minutes.
Why Use Your Smartphone for E-Visa Applications?
- Ultimate Convenience
- No desktop? No problem. Your phone goes wherever you go—café, hotel lobby, even on the move.
- Quick Photo Capture
- Use your phone’s high-resolution camera to scan your passport biodata page, passport-style photo, and required selfie-with-passport.
- Real-Time Edits
- Instantly crop, rotate, or retake images until they meet e-visa quality standards.
- On-the-Spot Submissions
- Submit your E-Visa Vietnam form anytime, without waiting for office hours or reliable Wi-Fi.
- Immediate Notifications
- Enable push notifications to get real-time status updates, essential for urgent e-visa application Vietnam scenarios.
By leveraging your smartphone, you’ll cut out steps in the traditional apply e-visa online routine—making visa applications as simple as sending a text message.
Preparing Your Smartphone: Checklist Before You Begin
Before launching the e-visa portal on your mobile browser, gather these essentials in one album or folder:
- Passport Data Page Scan: High-resolution JPEG/PNG (≥300 DPI) showing your biodata.
- Passport-Style Photo: 35×45 mm, white background, neutral expression.
- Selfie with Passport: Clear image holding your passport open to the data page.
- Digital Payment Method: Credit card or e-wallet to pay the USD 25 state fee.
- Stable Internet: 4G/5G or reliable Wi-Fi.
- Email Access: For confirmation emails and final E-Visa PDF delivery.
Having this e-visa checklist ready on your phone ensures a seamless flow through each portal step without scrambling for documents mid-application.
Step 1: Accessing the Official E-Visa Portal on Mobile
- Open Your Preferred Browser
- Chrome, Safari, or any up-to-date mobile browser.
- Navigate to the Official Site
- Type in
https://evisa.xuatnhapcanh.gov.vnexactly to avoid phishing sites.
- Type in
- Select “Apply for E-Visa”
- Look for the button labeled “Đăng ký trực tuyến” or “Apply Online.”
Pro Tip: Bookmark the page or add it to your home screen for easy one-tap access during the process.
Step 2: Creating Your Account & Logging In
- Tap “Register”
- Enter a valid email address and create a strong password.
- Confirm Your Email
- Check your inbox (or spam folder) for the verification link.
- Log In
- Use your credentials to enter the portal and view the dashboard.
Account setup typically takes under two minutes. Once logged in, you’ll see options for new applications, status checks, and previously saved drafts.
Step 3: Filling Out the Application Form
On your smartphone screen, you’ll encounter a series of fields. Here’s how to tackle each one smoothly:
| Field | Action Tip |
|---|---|
| Full Name | Copy exactly from your passport’s biodata page (including middle names and accents). |
| Date of Birth | Use the calendar picker to avoid formatting errors. |
| Passport Number & Expiry Date | Double-check these against your passport scan image. |
| Nationality | Select from the dropdown list—avoid typing to reduce typos. |
| Entry & Exit Dates | Match exactly to your flight itinerary or planned travel dates. |
| Intended Port of Entry | Choose based on your flight (e.g., Noi Bai Airport). |
| Purpose of Visit | Select “Tourism,” “Business,” etc., to align with visa rules. |
| Photo Uploads | Tap “Choose File,” select from your gallery, and confirm upload. |
Complete each section carefully. On mobile, formative errors often stem from auto-correct—so turn off predictive text when entering names or numbers.
Step 4: Uploading Required Images
Your passport data page, passport-style photo, and selfie-with-passport must meet specifications under Decision 5568/QĐ-BCA 2023:
- Passport Data Page
- Select the scan from your gallery. Ensure no glare or blur.
- Passport-Style Photo
- Crop to 35×45 mm if needed; use your phone’s editing tools to center your face.
- Selfie-with-Passport
- Open your passport to the data page, hold at chest level, and snap in natural light.
Once uploaded, the portal will show a thumbnail preview. Confirm legibility before proceeding. If an image is rejected, retake immediately to maintain momentum.
Step 5: Paying the State Fee
After reviewing your application details, tap “Proceed to Payment.” On the payment screen:
- Enter your credit card or e-wallet details.
- Confirm the USD 25 state fee transaction.
- Wait for the “Payment Successful” confirmation and save the receipt screenshot.
Having the payment proof ready on your phone is crucial should you need to reference it during status checks or customer support inquiries.
Step 6: Tracking Your Application Status
Once submitted, you’ll receive an email with a reference number. To monitor progress via your smartphone:
- Return to the Portal Dashboard
- Tap “Check Status”
- Enter Your Reference Number & Email
You’ll see statuses like “Pending Review,” “Approved,” or “Additional Documents Required.” Enable push notifications (if available) or simply bookmark the status page for quick checks.
Step 7: Downloading Your Approved E-Visa PDF
Upon approval (usually within three business days, or 24 hours with urgent e-visa application Vietnam service), you’ll receive an email alert. To retrieve and save your visa:
- Log In & Navigate to “My Applications.”
- Tap “Download” next to your approved application.
- Open the PDF in your phone’s document viewer and verify accuracy.
- Save to Local Storage and Upload to Cloud (Google Drive/Dropbox).
- Print Two Copies at your convenience before travel.
Storing digital copies ensures you can present the QR-coded e-visa at immigration, even if your printed copy gets misplaced.
Common Mobile Pitfalls & How to Avoid Them
| Pitfall | How to Prevent |
|---|---|
| Phone Auto-Rotate Errors | Lock screen orientation before submission. |
| Lost Internet Mid-Submission | Use airplane mode toggling to reset connection; resume from draft. |
| Gallery File Overwrites | Create a dedicated “Vietnam E-Visa” album to avoid accidental deletions. |
| Small Screen Mis-Clicks | Zoom in on form fields; use a stylus for precision if needed. |
| Password Typos | Toggle “Show Password” when creating account to ensure accuracy. |
Being aware of these mobile-specific challenges will save you precious minutes and keep your application moving smoothly.
Advanced Tips for Urgent & Corporate Applications
- Urgent E-Visa Application Vietnam: If you need approval within 24 hours, select the “Express Service” option on the payment page—additional fees apply but deliver guaranteed rapid turnaround.
- Corporate Business Visa Services Vietnam: For teams traveling together, leverage 68Solutions’ corporate portal. Bulk-upload all team member details and documents, then track status collectively in one dashboard.
- Batch Photo Prep: Use your phone’s batch-editing apps (e.g., Snapseed) to apply consistent cropping and brightness settings to multiple images at once.
- Language Support: If English is not your first language, enable in-app translation features or switch the portal to Vietnamese with live translation apps to ensure you understand every prompt.
With these advanced strategies, even the tightest deadlines become manageable.
Beyond the Application: Preparing for Arrival
Once you’ve secured your E-Visa Vietnam, your journey isn’t over. On landing, follow these steps:
- Print Copies: Have one in your carry-on and one in checked luggage.
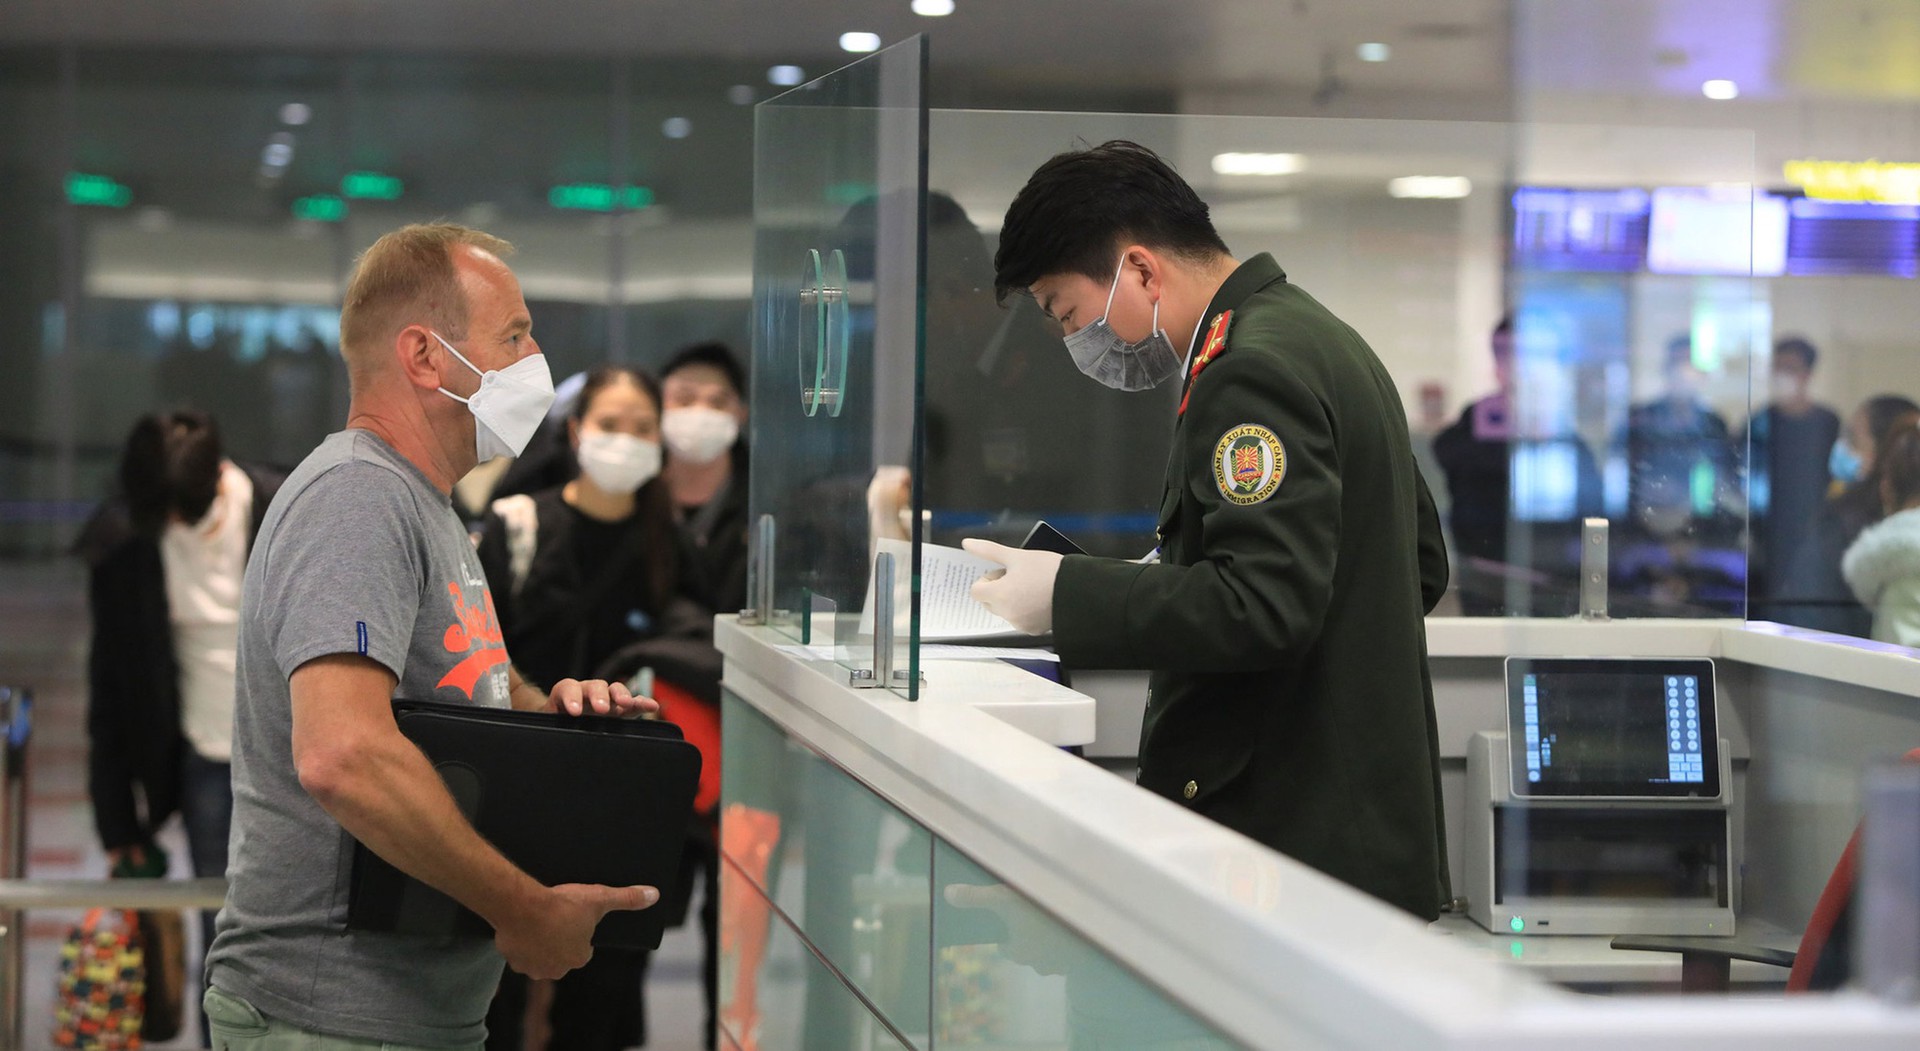
- Present at Immigration: Show your passport and printed e-visa PDF.
- Keep Your Digital Copy Handy: Immigration officers accept QR codes scanned from phones if needed.
- Review Local Regulations: Familiarize yourself with any health declarations, customs rules, or local COVID-19 guidelines.
- Plan Your Transport: Book a prepaid airport transfer to avoid touts and ensure a smooth arrival.
Adequate preparation on both mobile and on-ground fronts ensures a stress-free entry into Vietnam.
Conclusion
Applying for your E-Visa Vietnam via smartphone transforms the visa process from a chore into a quick, user-friendly task—no desktop required. By following this mobile-first guide, you’ll complete every step of the apply e-visa online experience with confidence, speed, and precision. For travelers pressed for time or corporate teams needing bulk processing, our urgent e-visa application Vietnam and corporate business visa services Vietnam packages at 68Solutions are designed to meet your needs exactly.
Ready to kickstart your Vietnam adventure from your pocket?
Contact 68Solutions now for expert mobile e-visa support:
📧 68s.marketing@gmail.com | ☎️ (+84) 98 2500 802
Let us handle the tech—so you can focus on exploring Vietnam!